Edge banding machine mechanism debugging (7)-Rough and fine trimming mechanism
The function of the rough and fine trimming mechanism of the edge banding machine is to cut off any excess edge banding that protrudes from the upper and lower surfaces of the wooden board, so that the upper and lower edges of the edge banding belt are flush with the upper and lower surfaces of the wooden board.
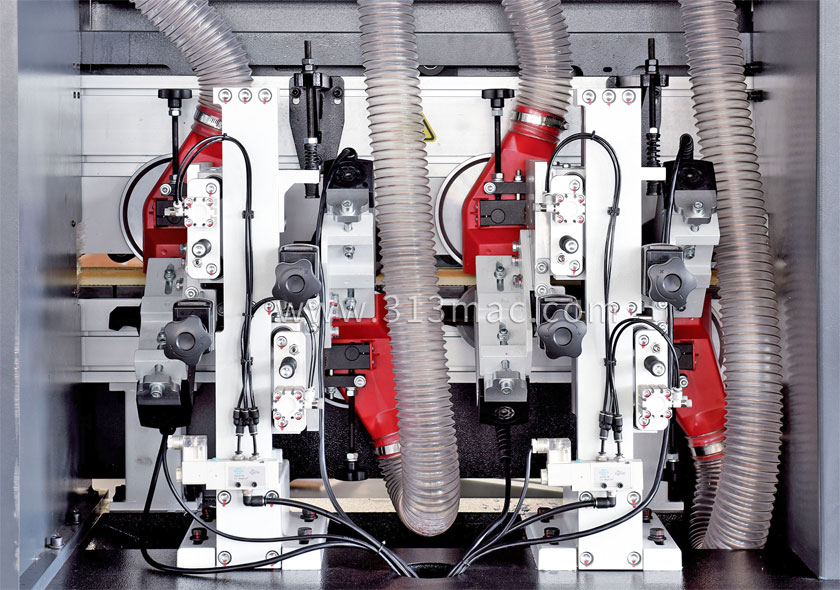
1、 Adjustment components of the trimming mechanism
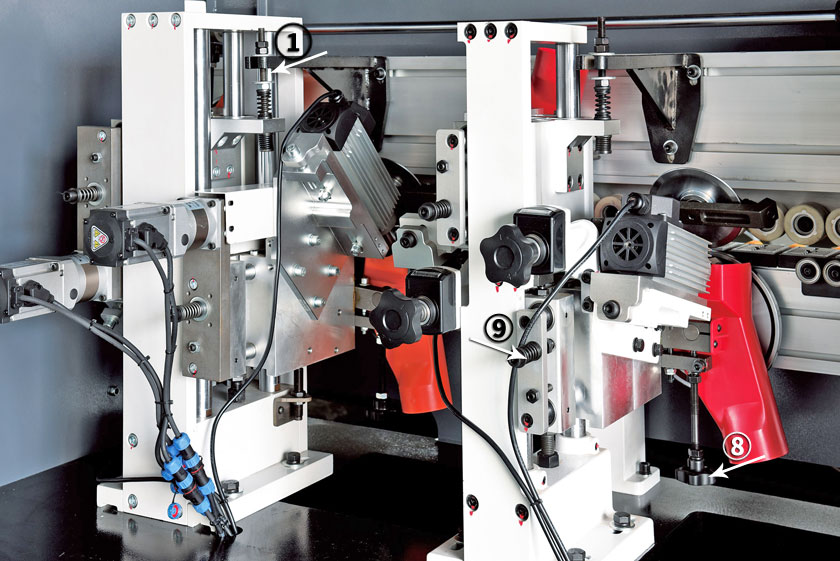
1. Pressure regulating screw of upper trimming mechanism
2. Front and rear feed adjustment screw
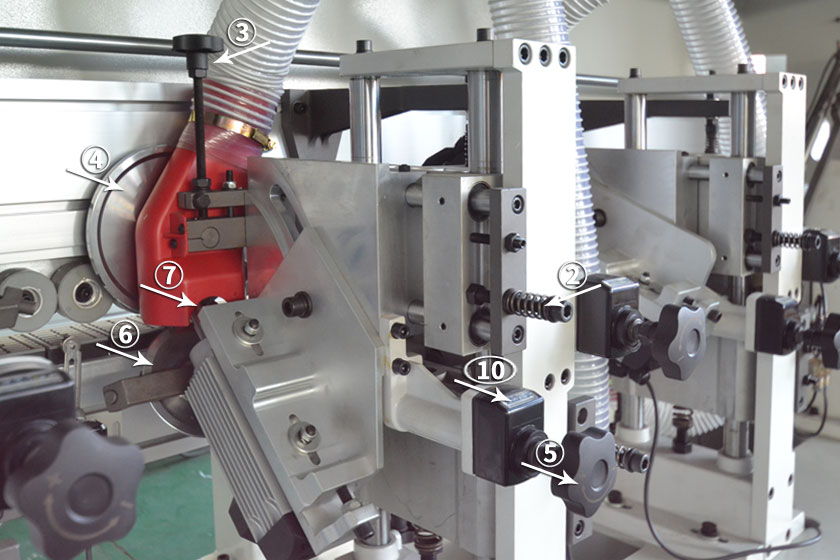
3. Up and down adjustment handle
4. Profile plate
5. Adjusting the handle
6. Side profile plate
7. Trimming knife
8. Lower trimming pressure adjustment screw
9. Pressure adjustment screw for trimming knife
10. Sealing strip thickness display
(1) Adjustment of rough trimming
To reduce the amount of trimming and milling for the R fillet during rough trimming, and thus obtain a smoother R fillet; At the same time, in order to meet the needs of trimming straight edges without trimming R rounded corners, this set of rough trimming mechanism is added.
The rough trimming knife is a flat blade, and the installation and debugging method is the same as the installation method of the secondary trimming knife, except that the angle between the straight line of the rough trimming knife and the water armor direction is about 10 degrees.
(2) Adjustment of precision trimming knife
When using the trimming mechanism to trim the R angle of the workpiece, simply set the counter values of the trimming mechanism and the lower edge mechanism to correspond to the thickness of the edge banding band. Method: If using a 2mm thick edge banding strip, set the counter value to 002.0>, and then use the screw for fine adjustment.
(3) Steps for replacing the trimming knife
Unscrew screw ① in Figure 5-49, slightly pull out the direction indicated by the arrow on the ② axis connecting the replacement profile plate, clamp it in position ② with a wrench, and then use a 17mm wrench to unscrew the nut before the trimming knife. Take out the trimming knife and replace it with a new one. The installation process is the opposite to the above.

Attention: When installing a new trimming knife, special attention should be paid to the relative relationship between the motor rotation direction and the trimming knife rotation direction. If the trimming knife is installed in the opposite direction, it will cause damage to the trimming knife during operation. At the same time, due to the high-speed rotation of the trimming motor and slight imbalance during trimming, the motor will generate strong vibration, causing damage to many components. Therefore, as long as the trimming knife is found to be slightly damaged, it must be replaced immediately.

 info@313mac.com